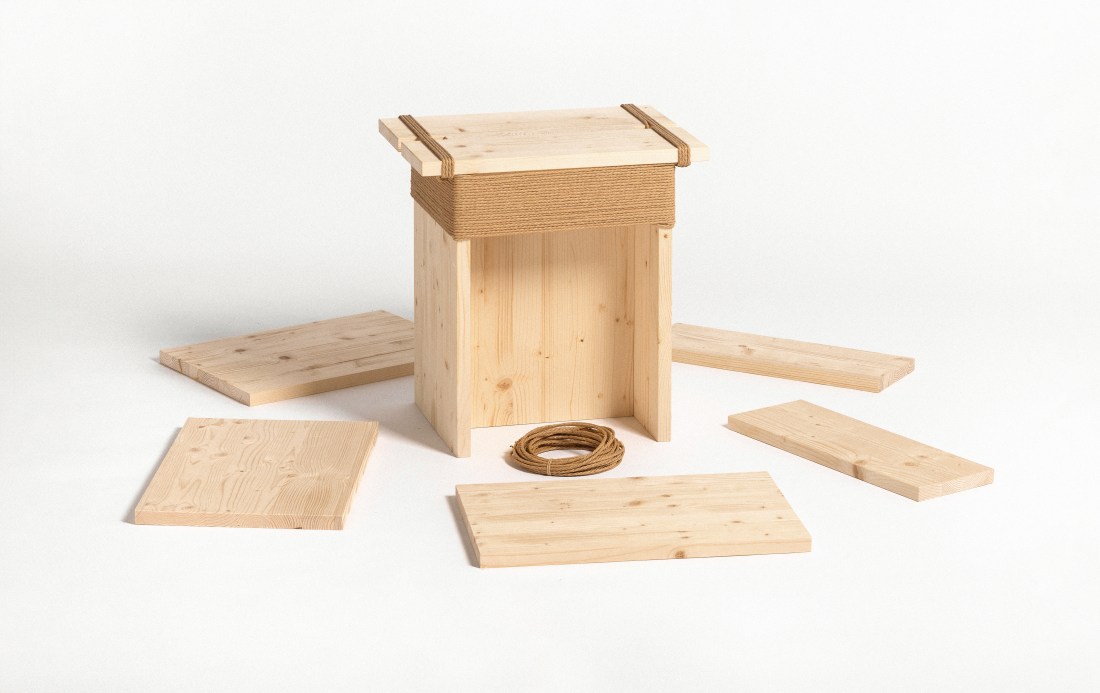
This is a step by step instruction of how to build the stool from the thread of time collection made during my time at the “Designers in Residence” project by EMMA Kreativzentrum in Pforzheim. It may look easy at first, but it takes some time and experience to make it fully stable, so do not get frustrated when it does not work the first time. Once you got it figured out, it is easy to do it again and apply to different designs. Enjoy!
If you have built one of my designs or even created a new one, please send me a picture or tag me on instagram! I am looking forward to your creations!
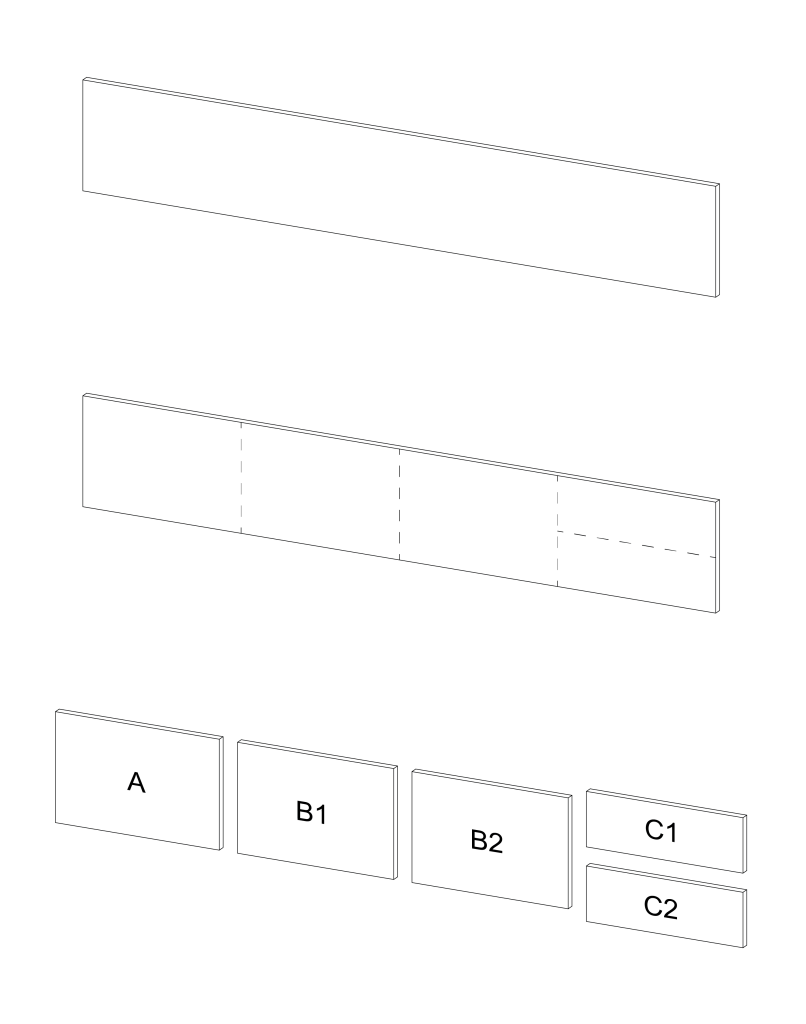
1. The dimensions I will be using are suitable for a stool of L43 x W31 x H45 cm. The dimensions can be adjusted to you needs if neccessary. For this stool, you will need a board of 175 x 29 x 2,1 cm. Then do four cuts to get the following boards and about 35 m of rope:
A: 45 x 29 cm
B: 42,9 x 29 cm
C: 43 x 14,9 cm

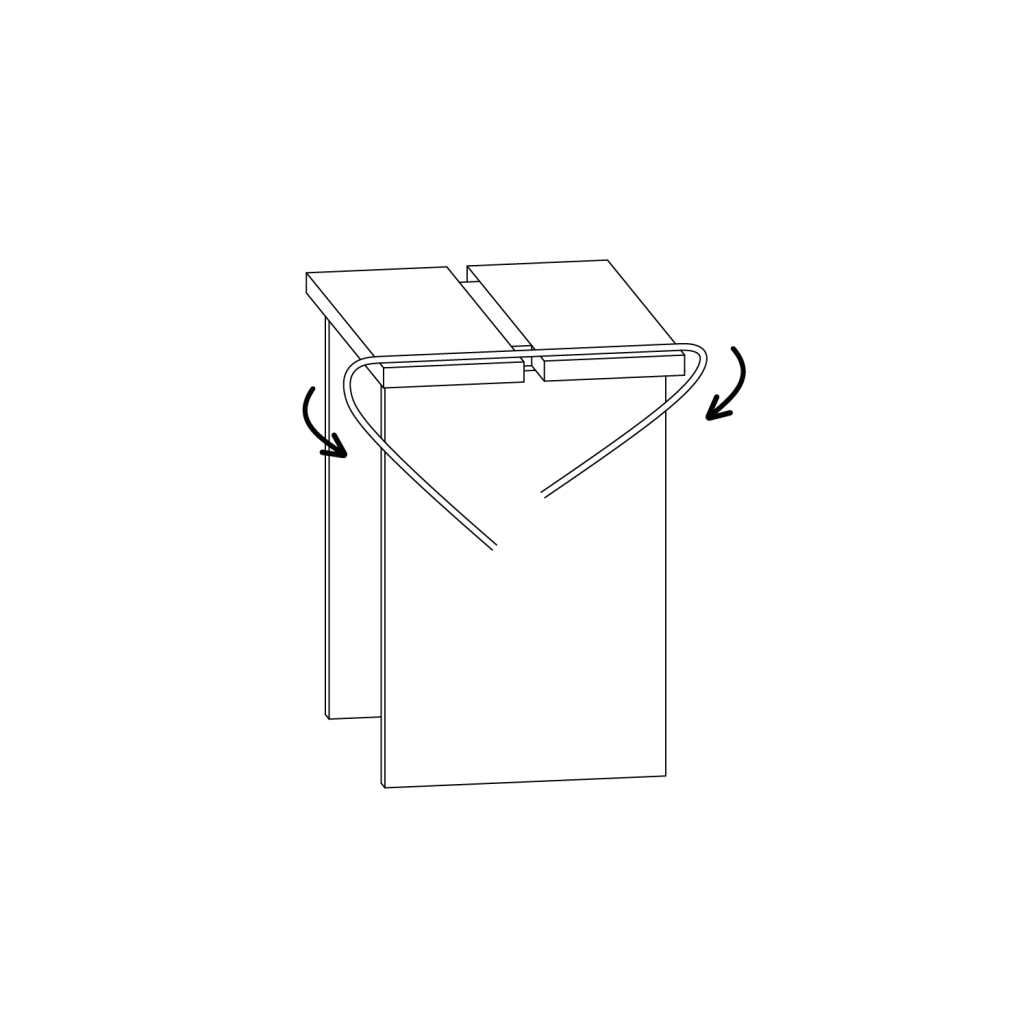
2. Lean B1 and B2 centered at A.

3. Add C1 and C2 from the top.

4. The structure should be kinda stable on its own now. Make sure to allign all the boards to be in the correct position. Use a triangle ruler to check if A is in a 90 degree angle to the floor. To proceed, use clamps or masking tape to hold everything in place!
5. Use the short rope to start lashing at the sides. Start from the top and make sure to always apply tension during the lashing process.

6. Go from the outside to the inside. If you can already see three lines at the top, do one more, but thread the ends of the rope through the inside of the lashing, along the side of B. Its best to now clamp down or tape down the loose ends of the rope to the board.

7. Mark 10 cm from below C at all sides on B. This lets you now the correct height of the rope when doing the first lashing round. Take the long rope and start the process like in the graphic. To make sure the rope does not slip away, you can again fix it with some masking tape. Then proceed to lash until you reach the top.
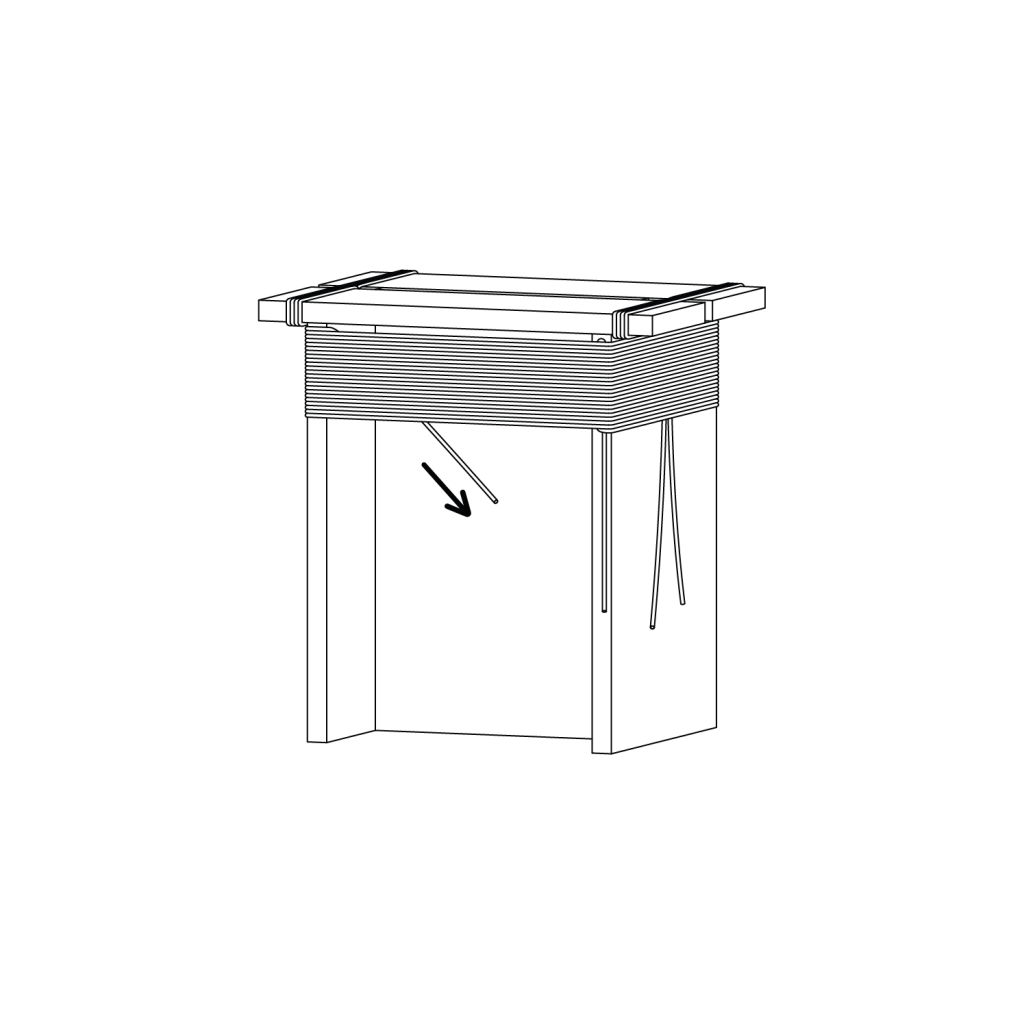
8. When you reach the top, you can pull the loose end down so it gets fixed temporarly in place. You can now take a pause before it gets to the final steps.
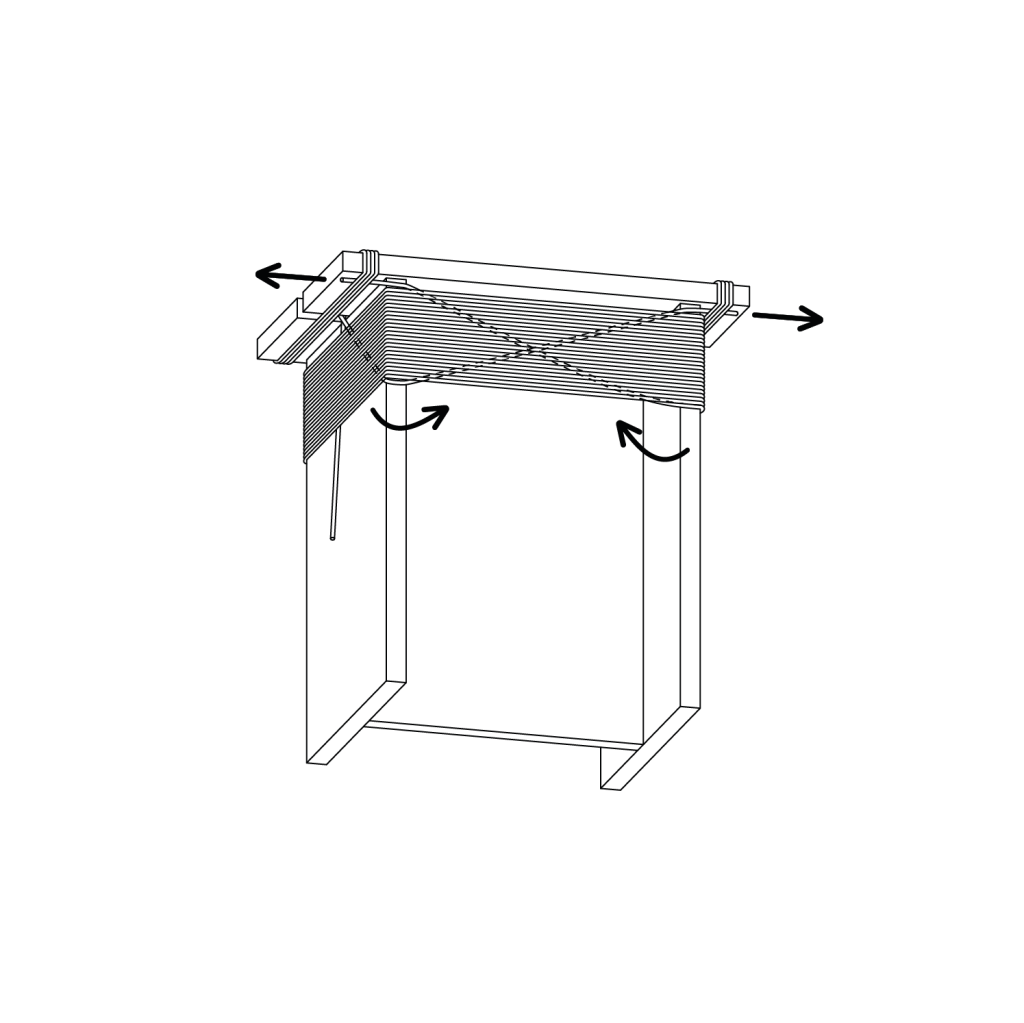
9. Thread the loose ends through the lashing you created around C. It is a tight process and takes some time. When pulling through, the rope should now be firm on its own. After retightening the ends of the short ropes they now also need to be fixed the same way. See the graphic. Make sure that the rope is always crossing, so if the rope is coming from the left C board, it needs to go under the right and then around.

10. You can now make a knot with the loose ends, tuck them in or leave them like that, depending on what rope you used. Finished!
